


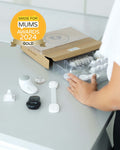
We have made protecting your little ones easy. But we all know that from time to time, things can be confusing, especially when using them for the first time. So, to make things even easier, we've made a video of how to install them.
How to Install Child Locks on Cupboards/Drawers:
Our locks can be installed on many different furniture types, you can see the video above for instructions on how to install on cupboards (timestamp 0:00) and drawers (timestamp 1:20). Also a reminder is our locks can also be positioned on cupboards in a downwards position if placed up higher in your house.
1. Prepare your surface by cleaning the area where the locks are being placed.

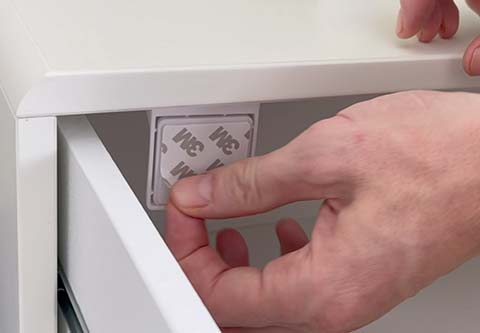
2. Take the applicator and place the lock and catch in position.
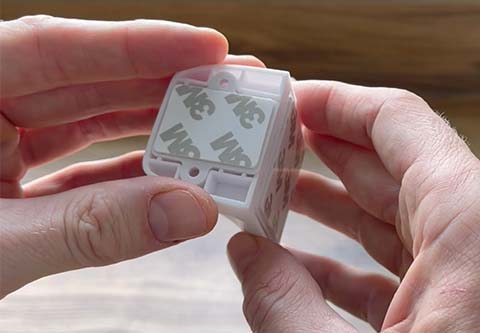
3. Peel off the sticker backing for the catch and place this into an upright/sideway or downward position depending on your furniture.

4. Then peel off the sticker backing for the lock, close the cupboard and apply pressure. Allow the 3M tape to bond for 5 minutes.

5. Open the cupboard/drawer and remove the applicator from the catch.

6. Apply pressure on the hook to enable the locking function, allowing this to hook onto the catch and lock the cupboard/drawer.

7. Use your BABYGO® Key to unlock the drawer by placing the lock infront of the drawer and move in a downwards motion.

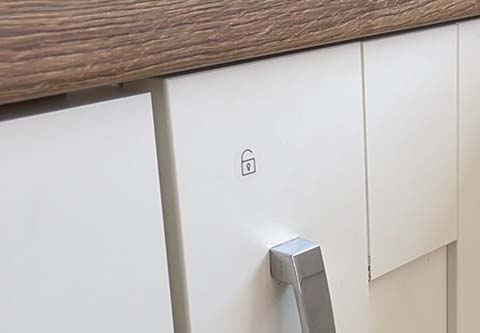
8. You can use our optional lock placement stickers to allow you to target the lock when you need to open the cupboard/drawer.
💡 TOP TIP: Make sure you unscrew the mounting cap off the key to increase the magnetism of the key.
How to Install Child Locks on Cabinets:
Our child safety locks work on cabinets too, which is particularly helpful in your bathroom or bedroom, to save the trapped fingers. See the video above (time stamp 2.30) to see the installation process.
1. Prepare your surface by cleaning the area where the locks are being placed.

2. Measure the depth of the drawer front with a tape measure and lock this in place so you can use this as a guide on where to place the lock.

3. Take the applicator and place the lock and catch in position.
4. Peel off the sticker backing for the catch and place this into an upright position after you've measured the depth to show how far back it will sit.

5. Peel off the sticker backing for the lock, close the drawer and apply pressure. Leave the drawer to allow the 3M tape to bond for 5 minutes.
6. Open the drawer and remove the applicator from the catch.

7. Apply pressure on the hook to enable the lock, allowing this to hook onto the catch and lock the drawer.

8. Use your BABYGO® Key to unlock the drawer by placing the lock infront of the drawer and move in a downwards motion.

9. Use our optional lock placement stickers to allow you to target the lock each time when unlocking them.

💡 TOP TIP: Leave the locks to sit overnight before using them for added durability and for the adhesive to set properly.
Using your BABYGO® Key:
We have designed our key with a mounting cap that features 3M tape, ensuring your key is out of reach of your little ones but easily accessible to you.
1. Peel the sticker backing off the key.

2. Place of a surface of your choice and apply pressure.

3. Unscrew the key from the mounting cap.

4. Use the key to unlock your cupboards, drawers and cabinets.
